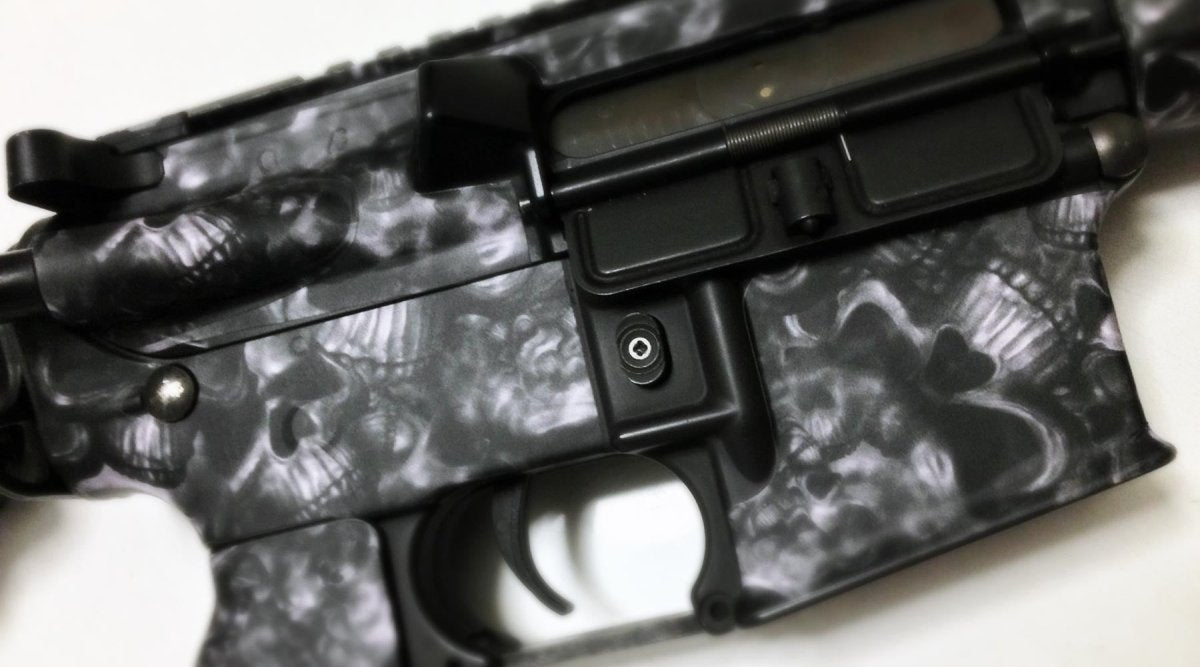
How to Patch a Void or Tear on A Gun Skin
The installation process for GunSkins is quite simple. It can be summed up by three easy steps:
- Peel the material
- Press on with your fingers
- Trim the excess
The vinyl material used for all gun and gear skin kits is very durable yet flexible, especially when hit with heat (we recommend using a heat gun). The material can be pulled and wrapped around tight corners and recessed edges. If there's any material hanging off beyond the overlap, it can be trimmed using a sharp hobby knife.
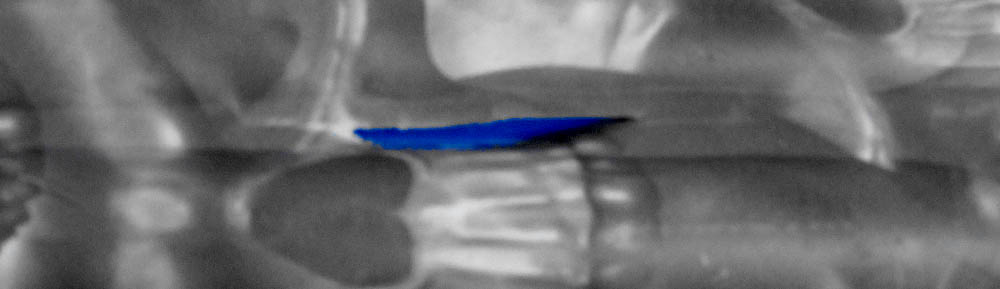
This rip occurred between the double barrel in this NERF shotgun.
There are, however, times when the material may be trimmed too short leaving the surface exposed. Little mistakes like these can be easily corrected without the need to remove the installed piece. If there's a void that needs to be covered up, all you need to do is cut a new piece of vinyl large enough to cover the void. Heat the material to make it flexible and place it directly over the void. Press firmly with your fingers and stretch the new piece to shape. This is also a great way to touch up the GunSkin from the wear of daily use and abuse.
The combination of heat and pressure are necessary for the piece to bond with both the surface of the gun the under-lapped material. Once the piece is placed and pressed firmly, it will hold on just as well as the original material. Overlapping and all, it's all one skin.
It's very easy to add a patch on top of the existing GunSkins material.
Clever patchwork is necessary so the new piece blends in almost perfectly with the rest of the skin. The level of difficulty depends on the type of pattern being used and the shape and size of the patch. The wonderful thing about a GunSkins kit is the repeating nature of our camouflage patterns and natural breakup makes patching seamless! This is especially true with our hunting and tactical patterns.
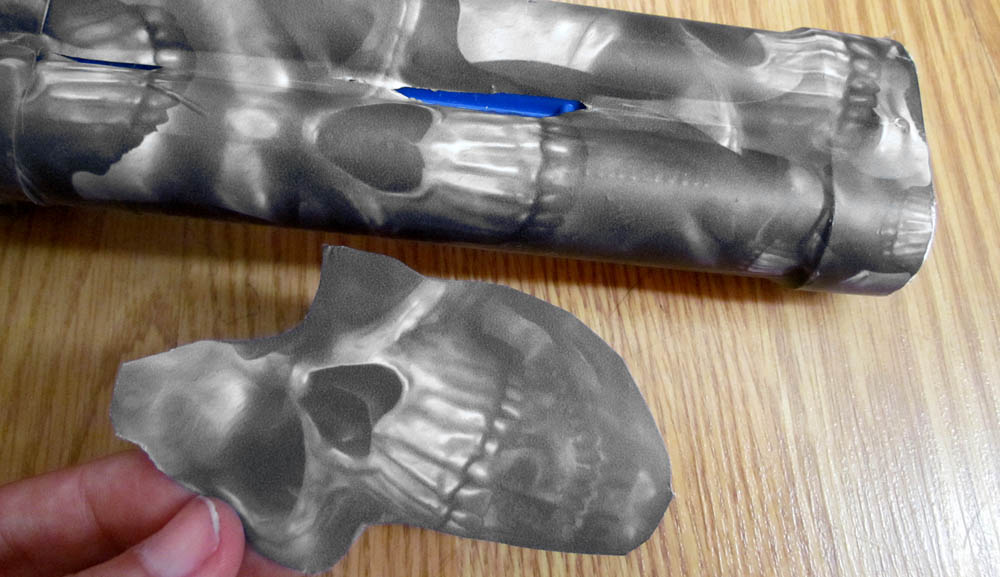
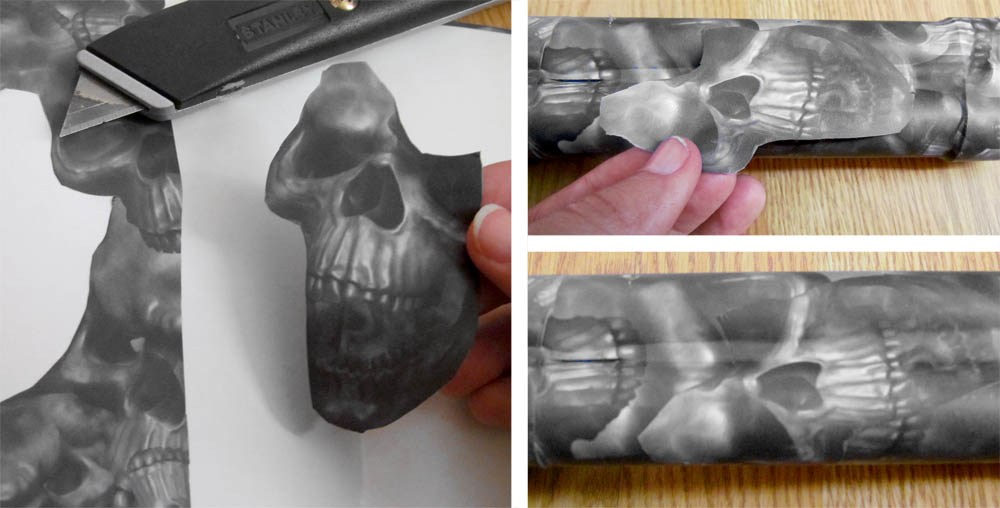
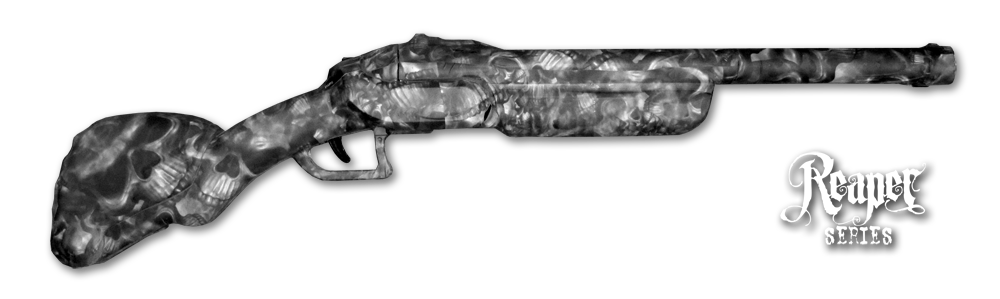
Hunting patterns typically contain images of sticks and leaves. We recommend finding a leaf large enough to cover the hole to use as the patch. The shape of leaf may be complicated, but it will make the patch difficult to find once installed. It will look like another leaf in the foreground of the camouflage pattern. For our example, the Reaper Black pattern is comprised of repeating skulls. Cutting a large skull and laying right over the rip is the perfect solution. No sweat!
If you cut the right piece, the blend will be smooth and difficult to see. This skull makes a great patch!
Tactical patterns, especially digital ones, are also easy to patch because of the reoccurring shapes and colors. Chances are there is extra material in the kit that contains the exact same section of the image that you can overlay right on top. Digital patterns with the strong pixelated imagery can be cut in a square shape, positioned over the void or ding, and blend well against the adjacent square pixels. Just make sure the patch is parallel to image underneath as it would be visually noticeable if the pixels were crooked.
Other camouflage patterns, especially those featuring specialty images, may require more creativity to make the patch blend in with the underlying pattern. Use matching colors if you can because at a distance it blends much better than making sure all of the objects in the image line up. At the end of the day, the gun or gear skin will still look amazing and chances are your friends won't even notice if there's a patch or two. The deer in the woods definitely won't see it!
All patched up and ready to go!
Covering a hole or a rip is no big deal. It's as easy to fix as it was to install the original piece in the first place. Choosing the right part of the image to use, and what shape to cut it in, will determine how seamless and unnoticeable the patch will be. But remember, the skin protects the gun so it's more important to patch the hole correctly than to worry about how perfect the blend can be. As it's true with any DIY project, the more care and time you put into the installation the better the results will be. Take your time and be patient and we know you'll be satisfied with your newly wrapped gun or gear.
0 comments