How To Wrap a 20 or 25 Round AR-10 (.308) Magazine
Magazine wraps are a great way to add some color and camouflage to your mags. They're easy to install and remove, leaving behind no residue on the surface of your firearms. We offer mag skins for a variety of firearms, including AR-15, AK-47, and even pistols.
While all GunSkins Mag Skins are pretty straight forward, our AR-10 Mag Skins are unique in the fact that they're designed for 25 and 20 round magazine capacities (.308 caliber). We'll first go through how to install on the 25 round mag, and then highlight the extra step required for the smaller 20 rounder.
A Clean Mag Makes for a Clean Install
Before we install anything, the very first step you should take is to clean the magazine thoroughly! While rubbing alcohol is useful to remove moisture and loosen residue, it's not strong enough to cut through grease and gun oil. This is especially a problem with newer guns since they come from the factory heavily lubricated for preservation.
We recommend using a gun-specific degreaser, such as Froglube Solvent or GunScrubber. However, if you have any non-chlorinated automotive brake cleaner in your garage, that will definitely get the job done. It's also a good idea to use a small brush and scrub the recessed areas and contours. Guns are porous and gun oil is designed to settle into these areas.

A sharp install like this can only be achieved if the mag is thoroughly cleaned first.
I cannot stress this enough. Any presence of oils on the surface will pose a problem when it comes to adhesion. When you're done applying the cleaner, use a lint-free cloth to dry the surface and let the mag sit for a few minutes to air dry completely.
Just Like a Sticker
Once the mag is clean and ready, it's time to install the mag skin. Each mag skin comes with two pre-cut pieces labeled "left" and "right" as if the mag was positioned in the weapon. The pieces may look identical, but the right side has a wavy cut line on the front side to create a better blend on the overlap.
Start with the left side and peel the piece off the backing from the kit. Position the piece centered on the mag and press down with your fingers. We recommend starting from the center and moving outward toward the edges, consciously working away wrinkles and air bubbles as you go. If you don't like how the piece is laying, simply peel it off and try again.

Installation is pretty straight forward and should only take 15 minutes.
The other key to a successful installation is the use of heat. It will be necessary to use a hair dryer or heat gun in order to activate the vinyl and make it conform to the shape of the mag. When the skin is hit with heat, it becomes soft and easy to work with. Press down on the surface with the palm of your hand to really bring out the detail and make the material hug the grooves of the mag.
The edges of the material will hang over the front and back of the mag. The edges contain slits that will make installation easy, even along the curved edge. If there is too much tension or wrinkles present, simply peel it back to the corner and stretch over again after applying more heat. It's important to press out any air bubbles since it this piece will be overlapped by the right side and trap any air underneath.
What do I do if there is an air bubble trapped underneath the skin?
When installing the kit on the surface of the mag and you notice a small air bubble along one of the recessed edges, it's easy to remove it. Simply use a sharp hobby knife or pin needle and give it a poke. This allows the air to escape. Next, hit it with heat and press down with your finger to smooth the material in place. Doing this seals the hole, making it almost impossible to see and maintains the water-proof attribute of the material.
Mag Skins are tough and can withstand pretty much anything you can throw at them!
Finishing Up
Once the left side is installed and pressed firmly into place, it's time to do the same for the right side. The only difference this time around is that the front edge will contain a meandering "S" shape to help blend the seam. Remember to take your time during the installation process. Mag Skins are designed to give your mags many years of protection. Rushing the installation process can lead to early wear and peeling.
Once the final piece has been installed, we recommend hitting the entire mag for one final round of post heat. It's better to heat the surface in a sweeping motion rather than concentrating on a single spot for too long. Apply pressure on the surface using your hands, fingers, or a small towel. You should spend at least 5 minutes on this step to ensure maximum adhesion.
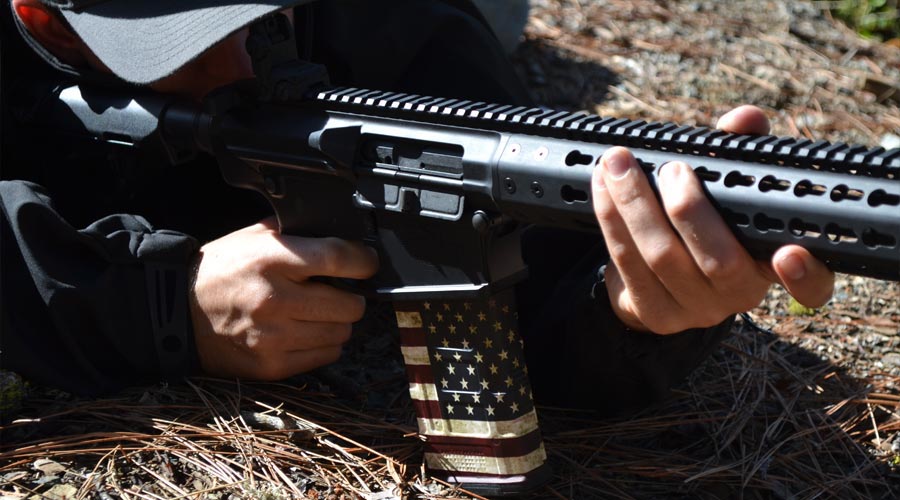
Once the vinyl is cooled the mag is ready to use right away! If installed correctly, the edges are water tight and the vinyl will fit the mag like a glove, or better yet, like skin!
Trimming to Fit a 20 Round Magazine
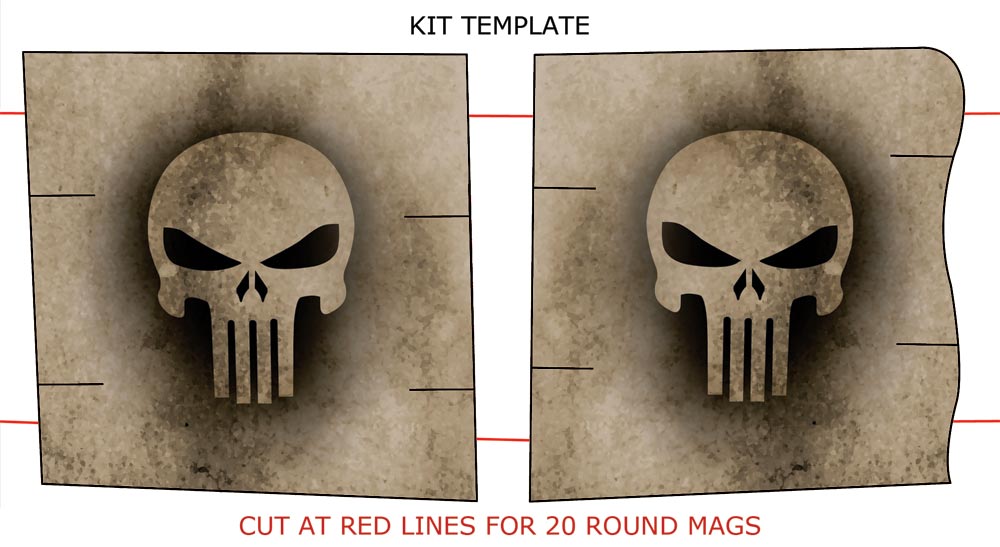
To install the same kit on a smaller 20 round magazine, there's an extra step required to make installation as smooth as the 25 rounder. If you notice on the kit template there are red lines along the edges marked "cut at red lines for 20 round mags". Trimming the kit before installation is much easier than removing the excess material afterward.
Using a ruler or straight edge (you can even use the cardboard sleeve the product comes in), line up using the red lines as a guide and trim away the material using a sharp hobby knife. Do this for the top and bottom of each side, creating a total of four cuts. This will size the pieces to fit perfectly on the smaller capacity mags. All other installation steps apply at this point.
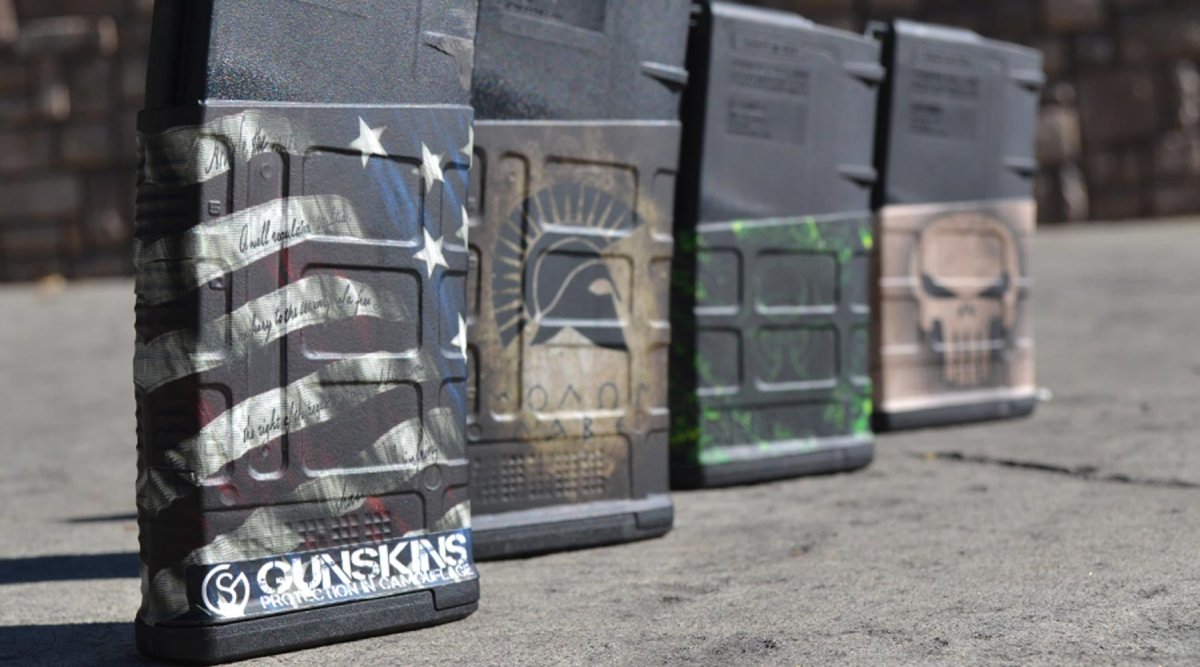
Mag Skins are an easy way to customize the look of your loadout
We offer more than 10 unique patterns to choose from for our AR-10 Mag Skins. This is a great way to customize and identify your mags for different guns, calibers, or to keep your mags from accidentally winding up at your buddy's home from the last time you went shoot at the range together.
All Mag Skins are removable by reversing the installation process. Hit with heat first to loosen the material and then find an edge to peel off. They come with a lifetime warranty from image fade. On top of that, we offer a 60 Day Money Back Guarantee for all of our GunSkins kits. What do you have to lose?
0 comments